Getting a Handle on It!


White Shaker Kitchen Cabinet Door - Bronze Pewter Knob | Danbury CT

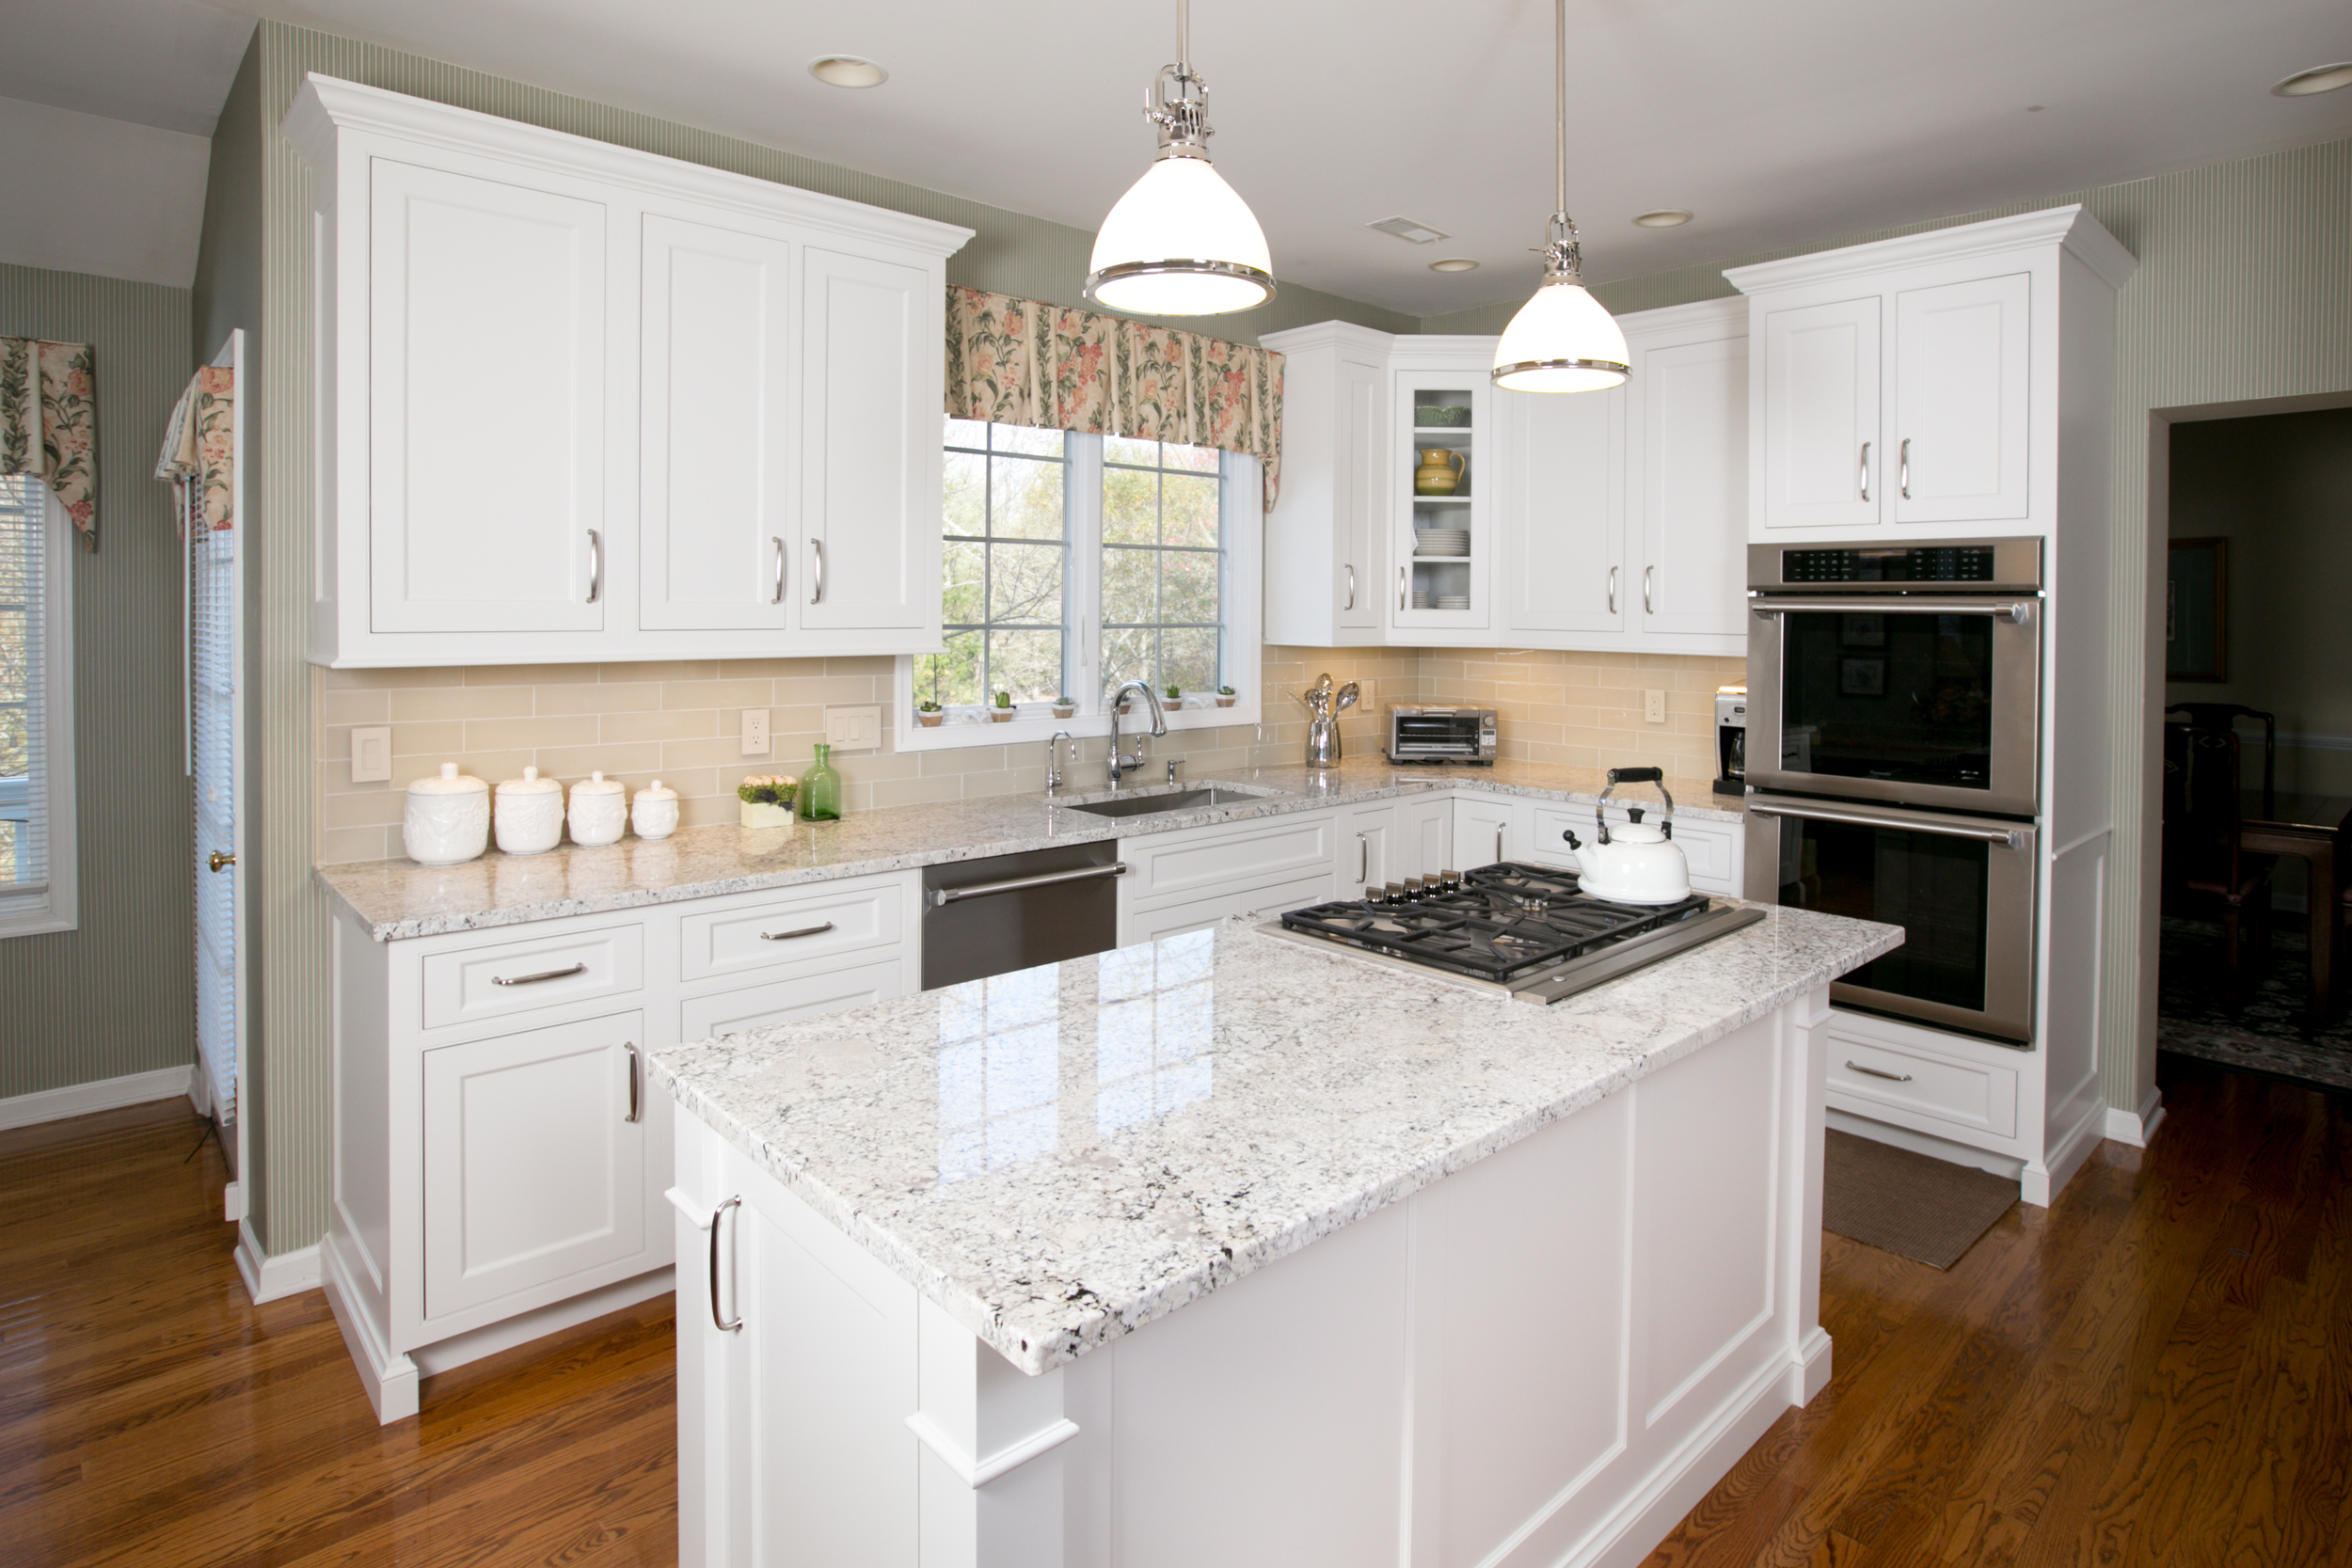
So you’ve finally settled on your cabinet layout, wood specie, door style and finish. Now onto the handles!

When thinking about the many possibilities for your cabinetry, it’s easy to get overwhelmed (oil-rubbed bronze, antique pewter, chrome…oh my!) One way to think about hardware is as the “jewelry” of the kitchen, with the power to enhance or completely transform a style. With this in mind, remember our 4 C’s of hardware selection – Class, Color, Cost, and Comfort.

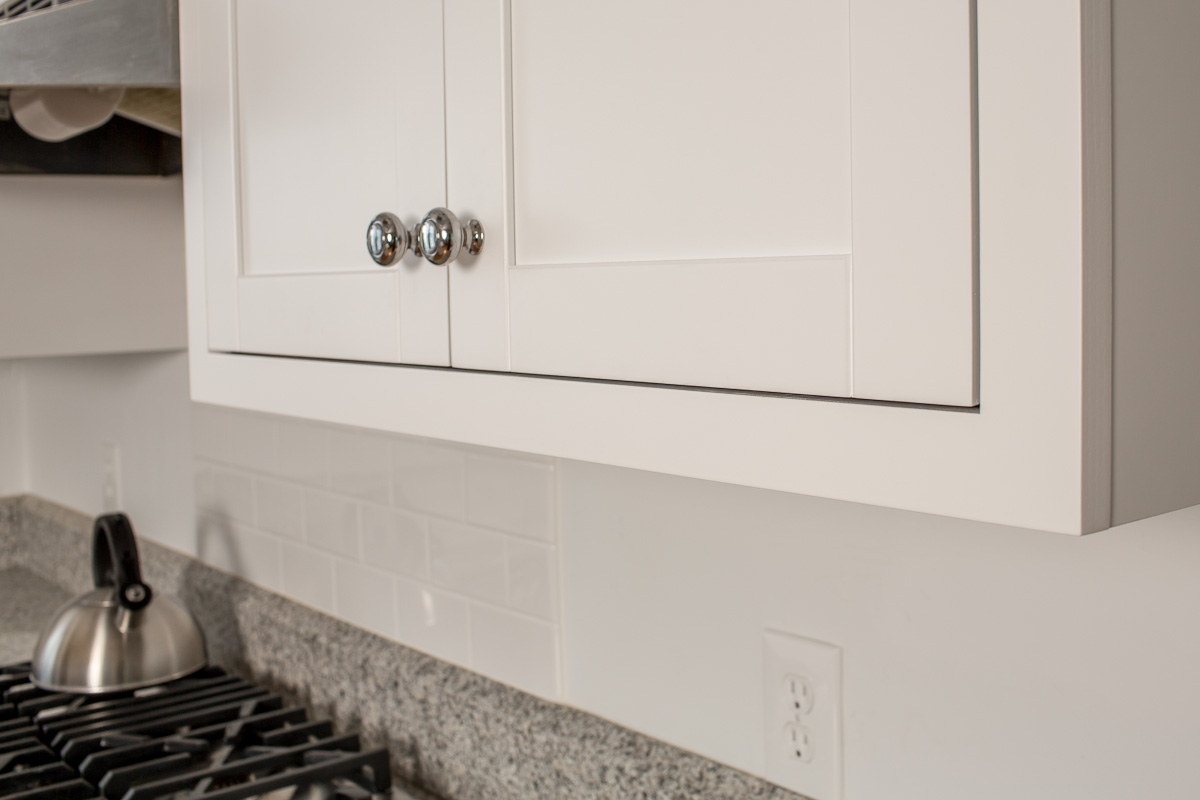
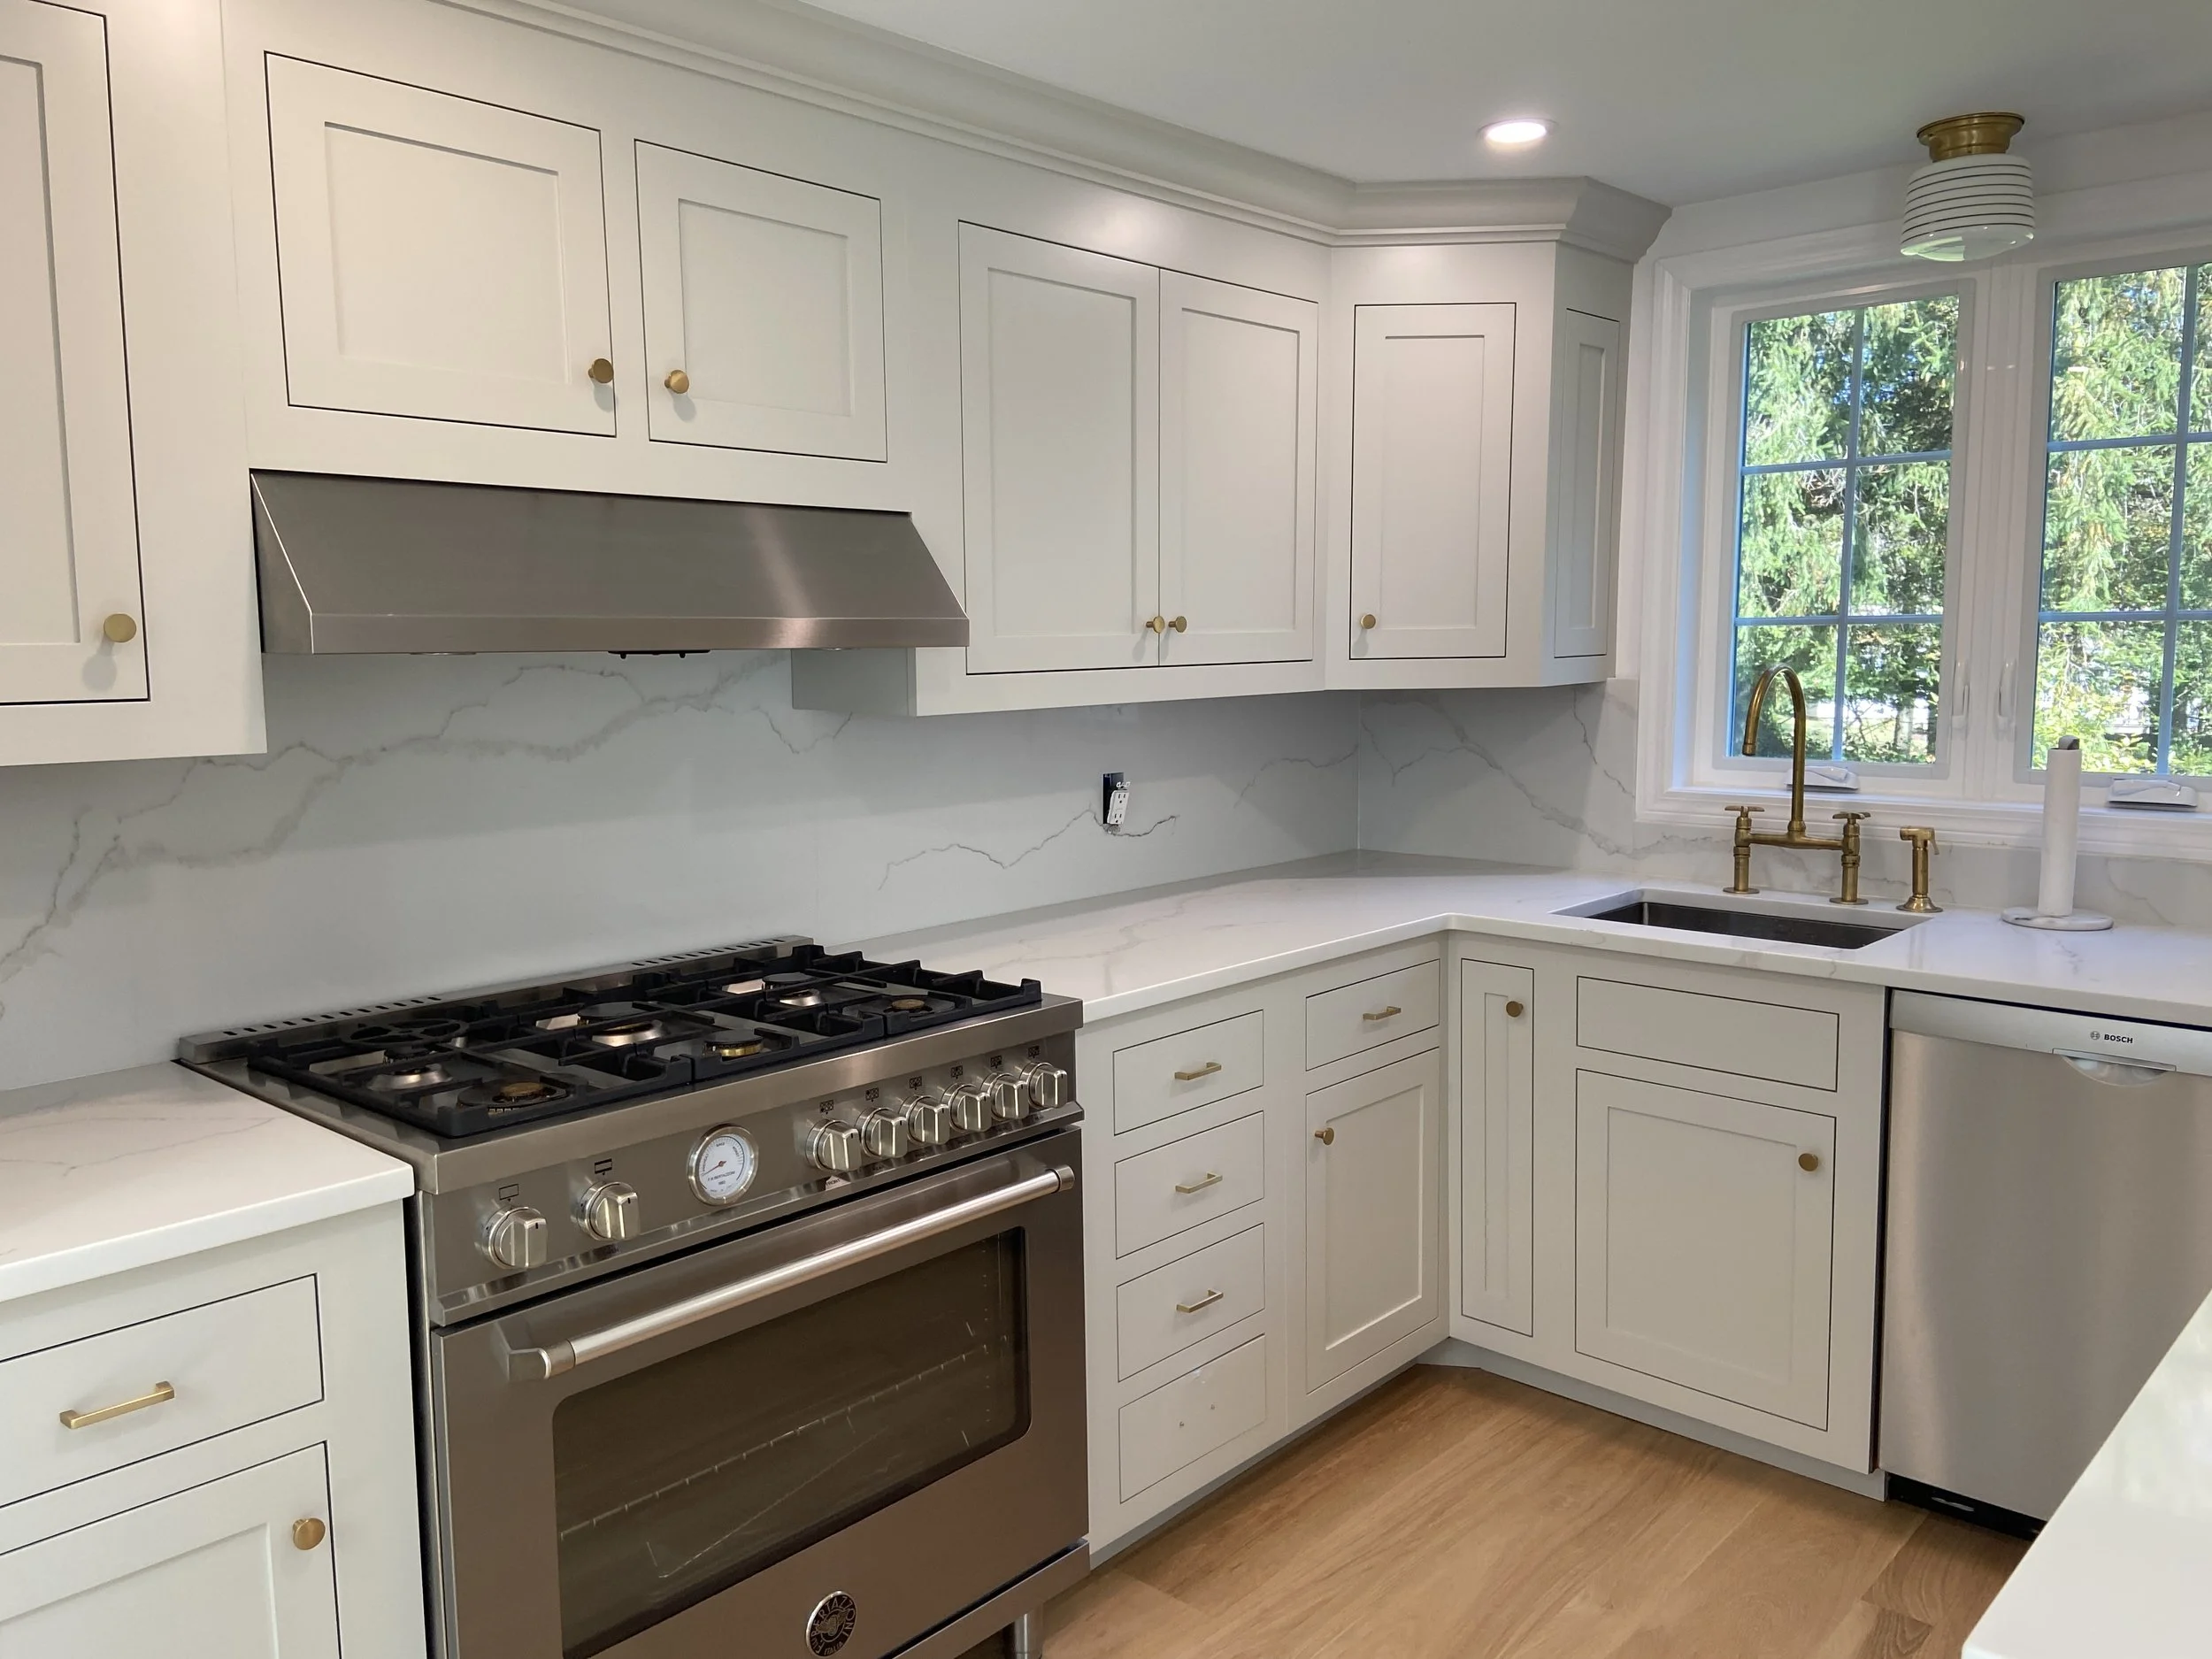
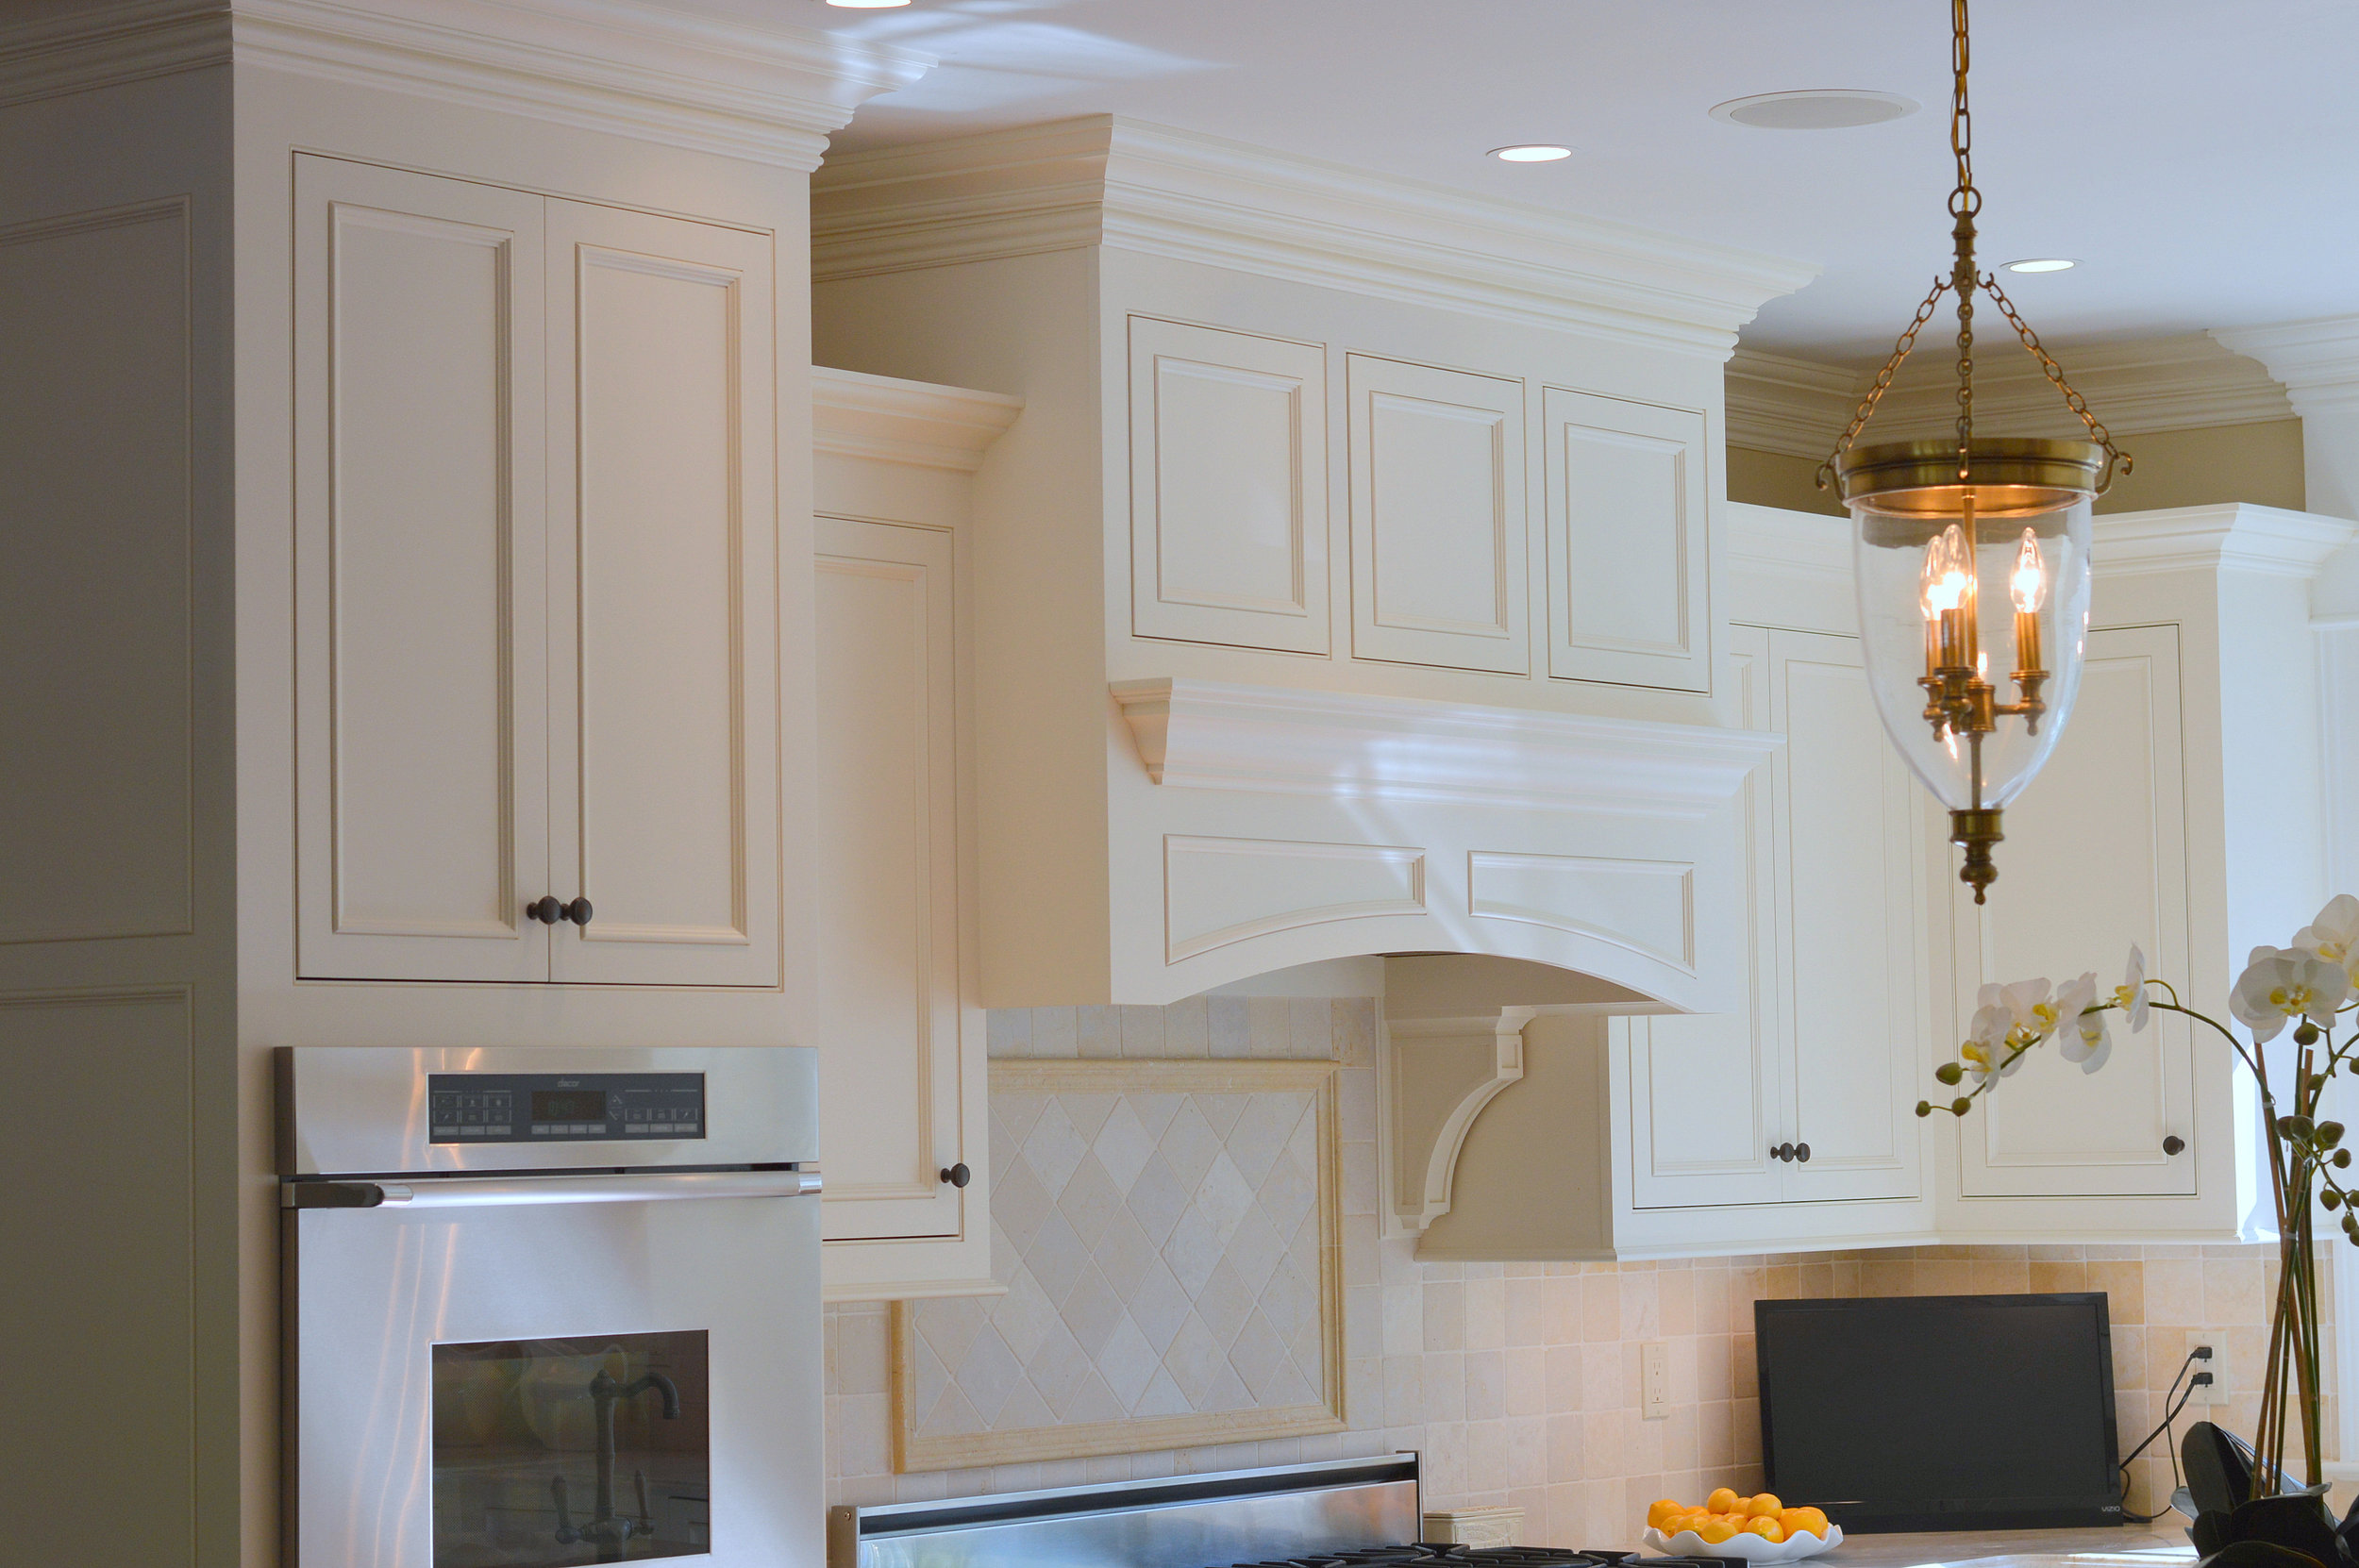
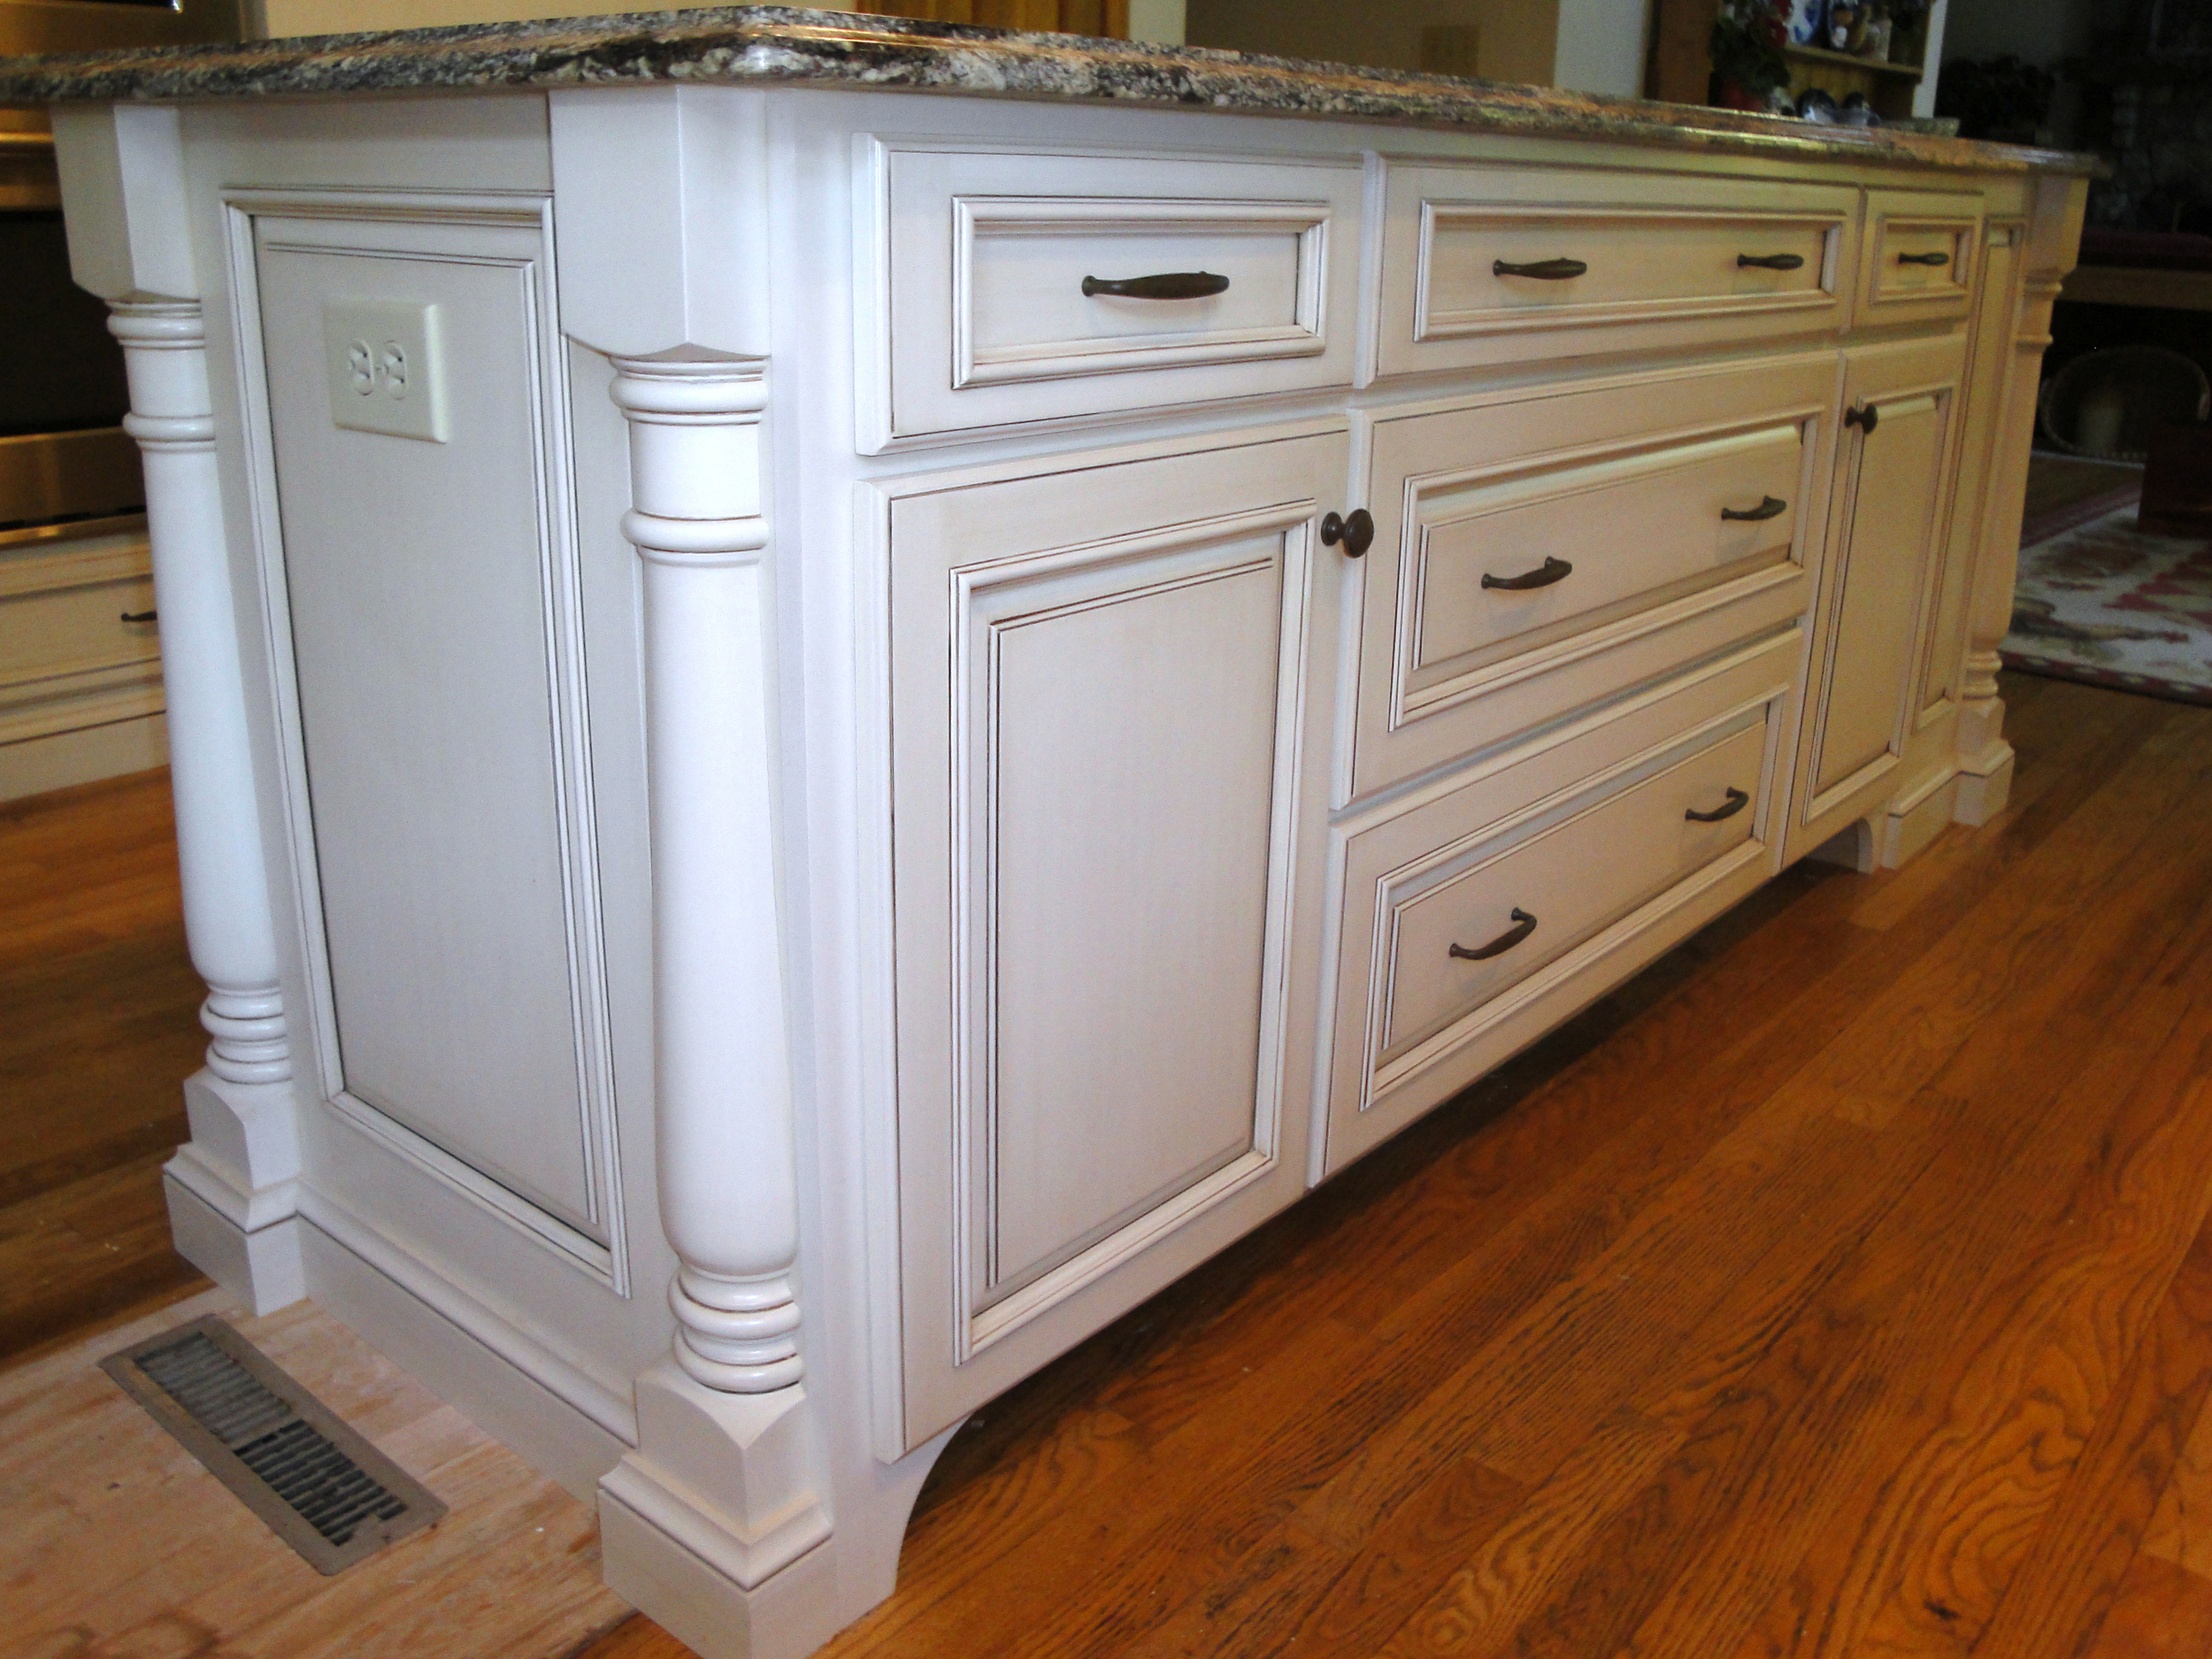
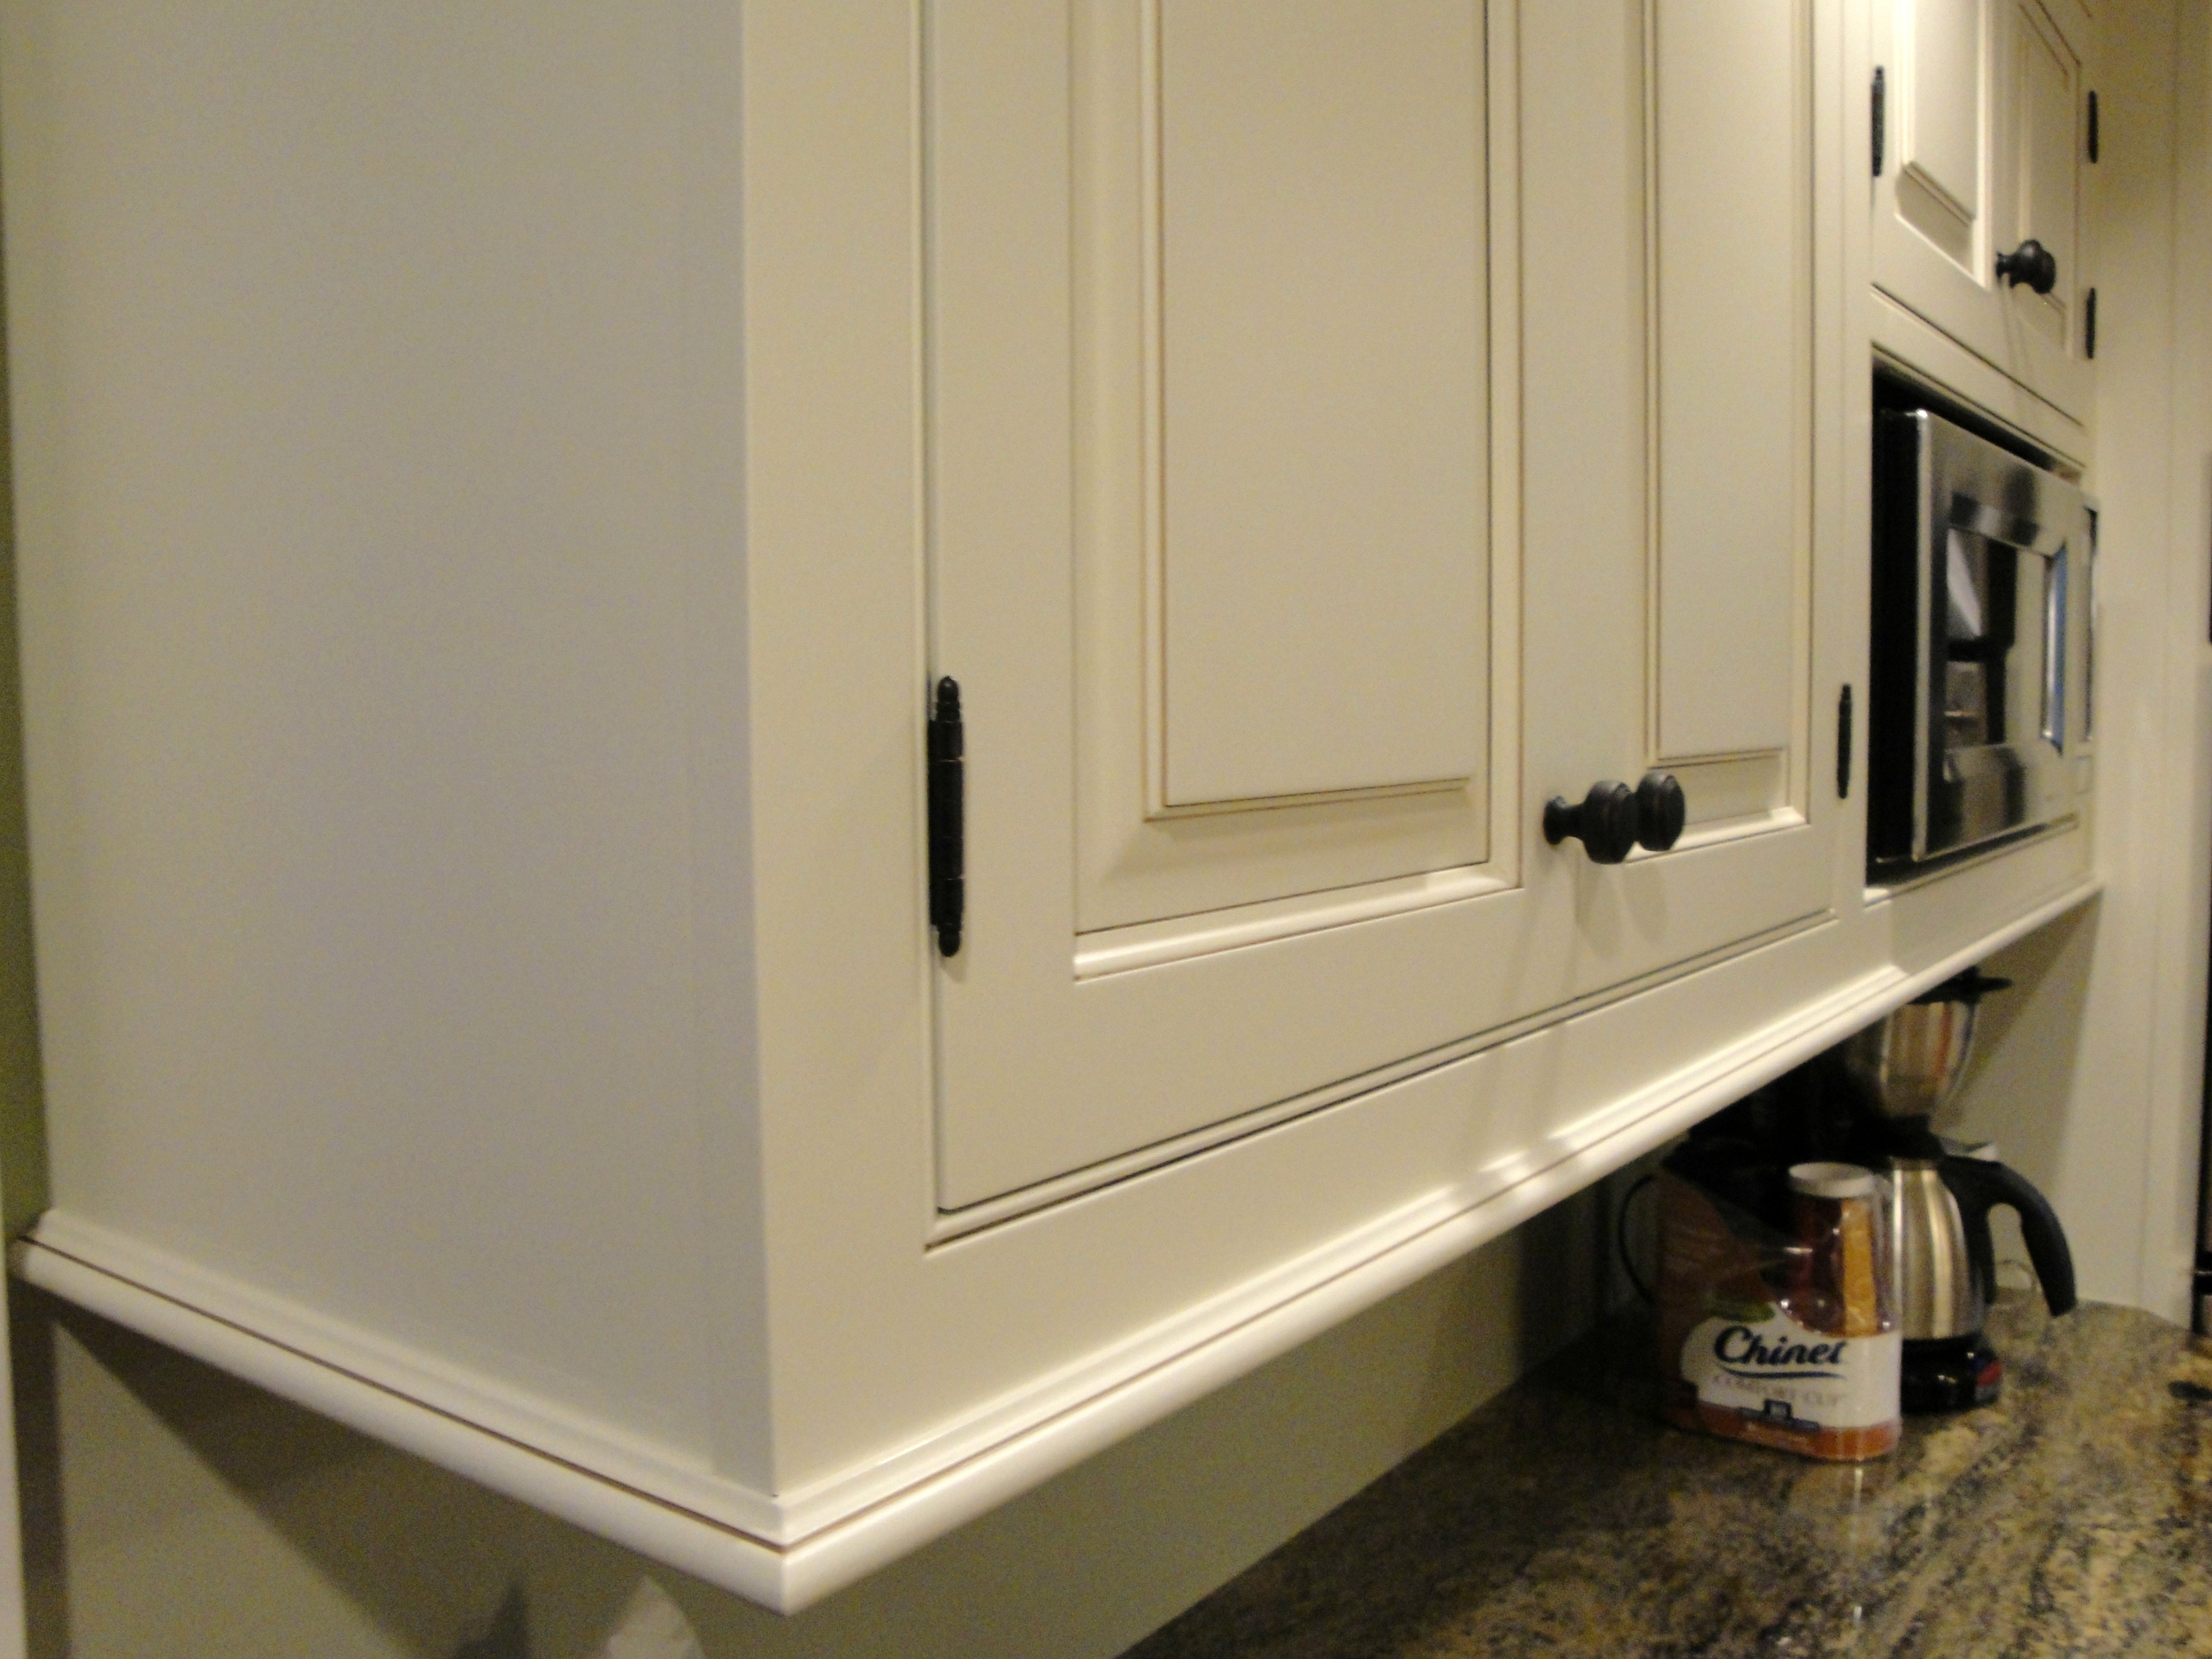
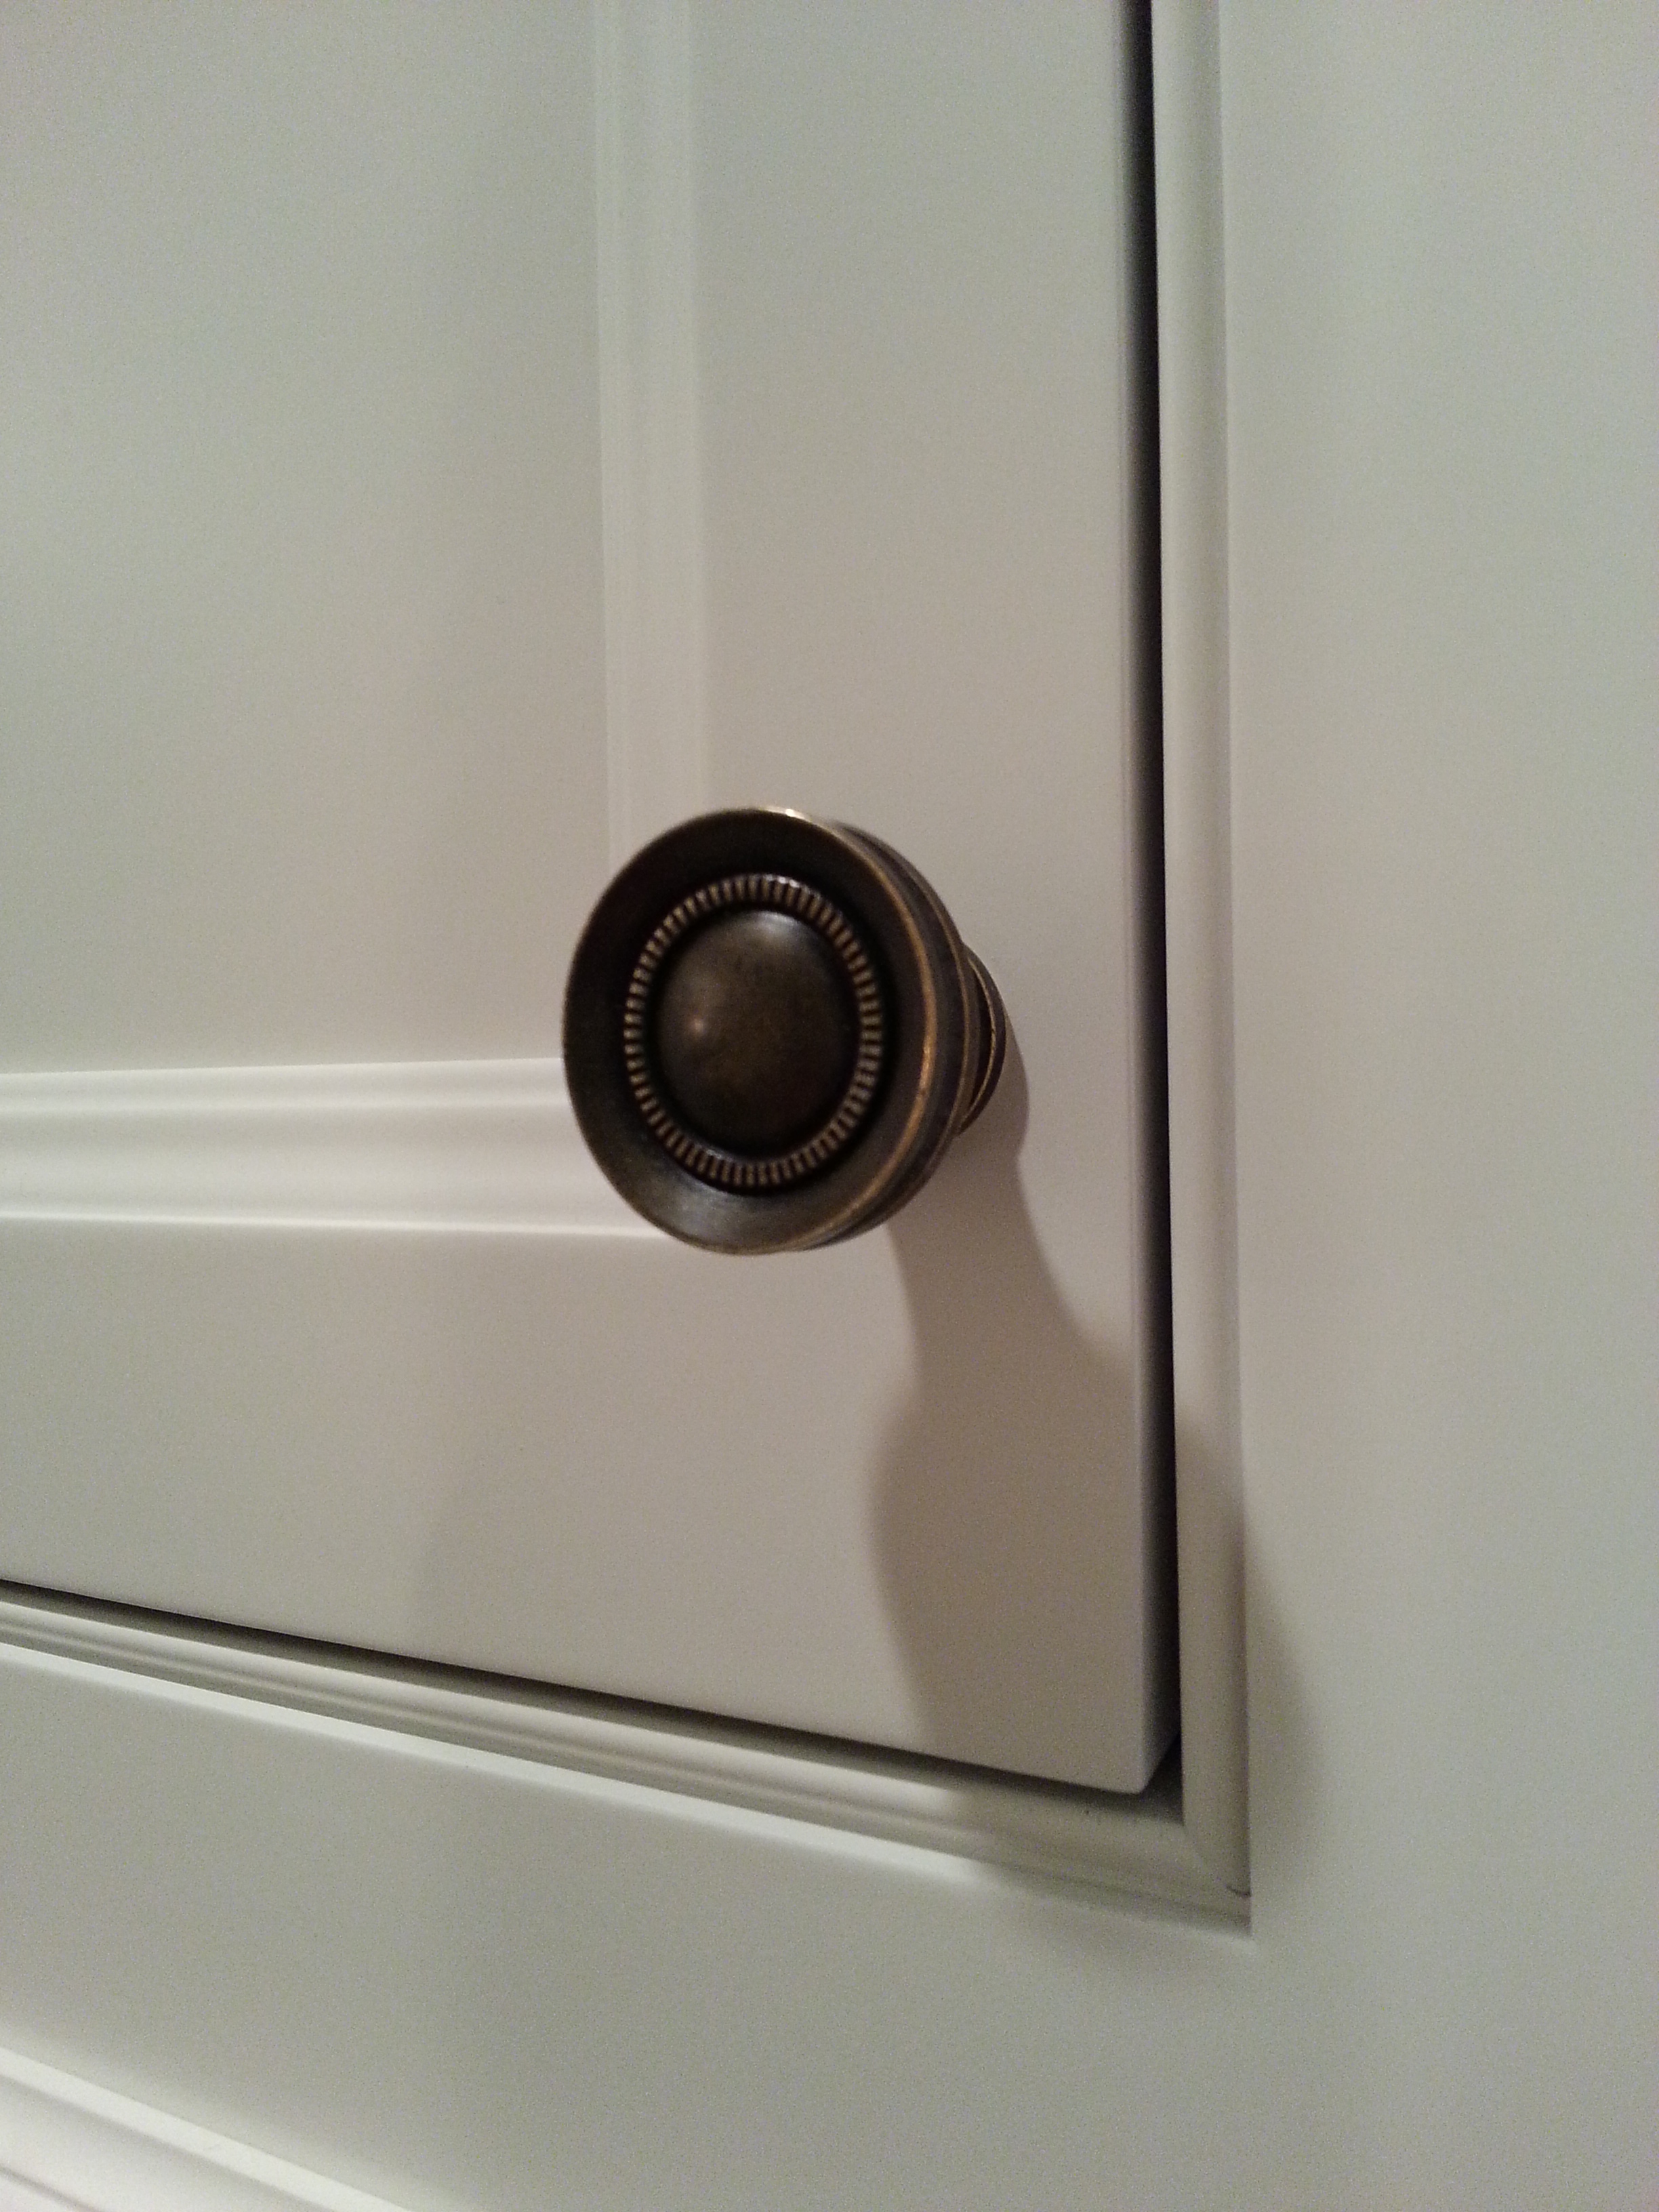
Class: There are generally 2 primary classifications: Knobs and Pulls. Knobs are the classic choice, with a multitude of shapes and finishes. Pulls can create variation and interest, and can range from cup shaped pulls to the more contemporary bar pull. Mixing hardware classes (knobs on doors with pulls on drawers) is a popular option to have the best of both worlds.

Color: Kitchen appliance color (microwave, refrigerator, stove, etc.) is an important consideration when choosing the metallic finish for your hardware. Black and stainless steel typically modernizes a space, while white crisp appliances creating a more classic style. Are you planning on upgrading to a matching set, keeping existing pieces, or mixing in appliance fronts that match your cabinetry? All should play nicely with your hardware selection.

Cost: Similar to jewelry, hardware can range from minimalist to ornate, with matching prices typically between $4 to $12 per piece. If your heart is set on a style that might be a bit pricier than your budget, it might be worth the jump, as it’s a one-time investment that you’ll see and use everyday.

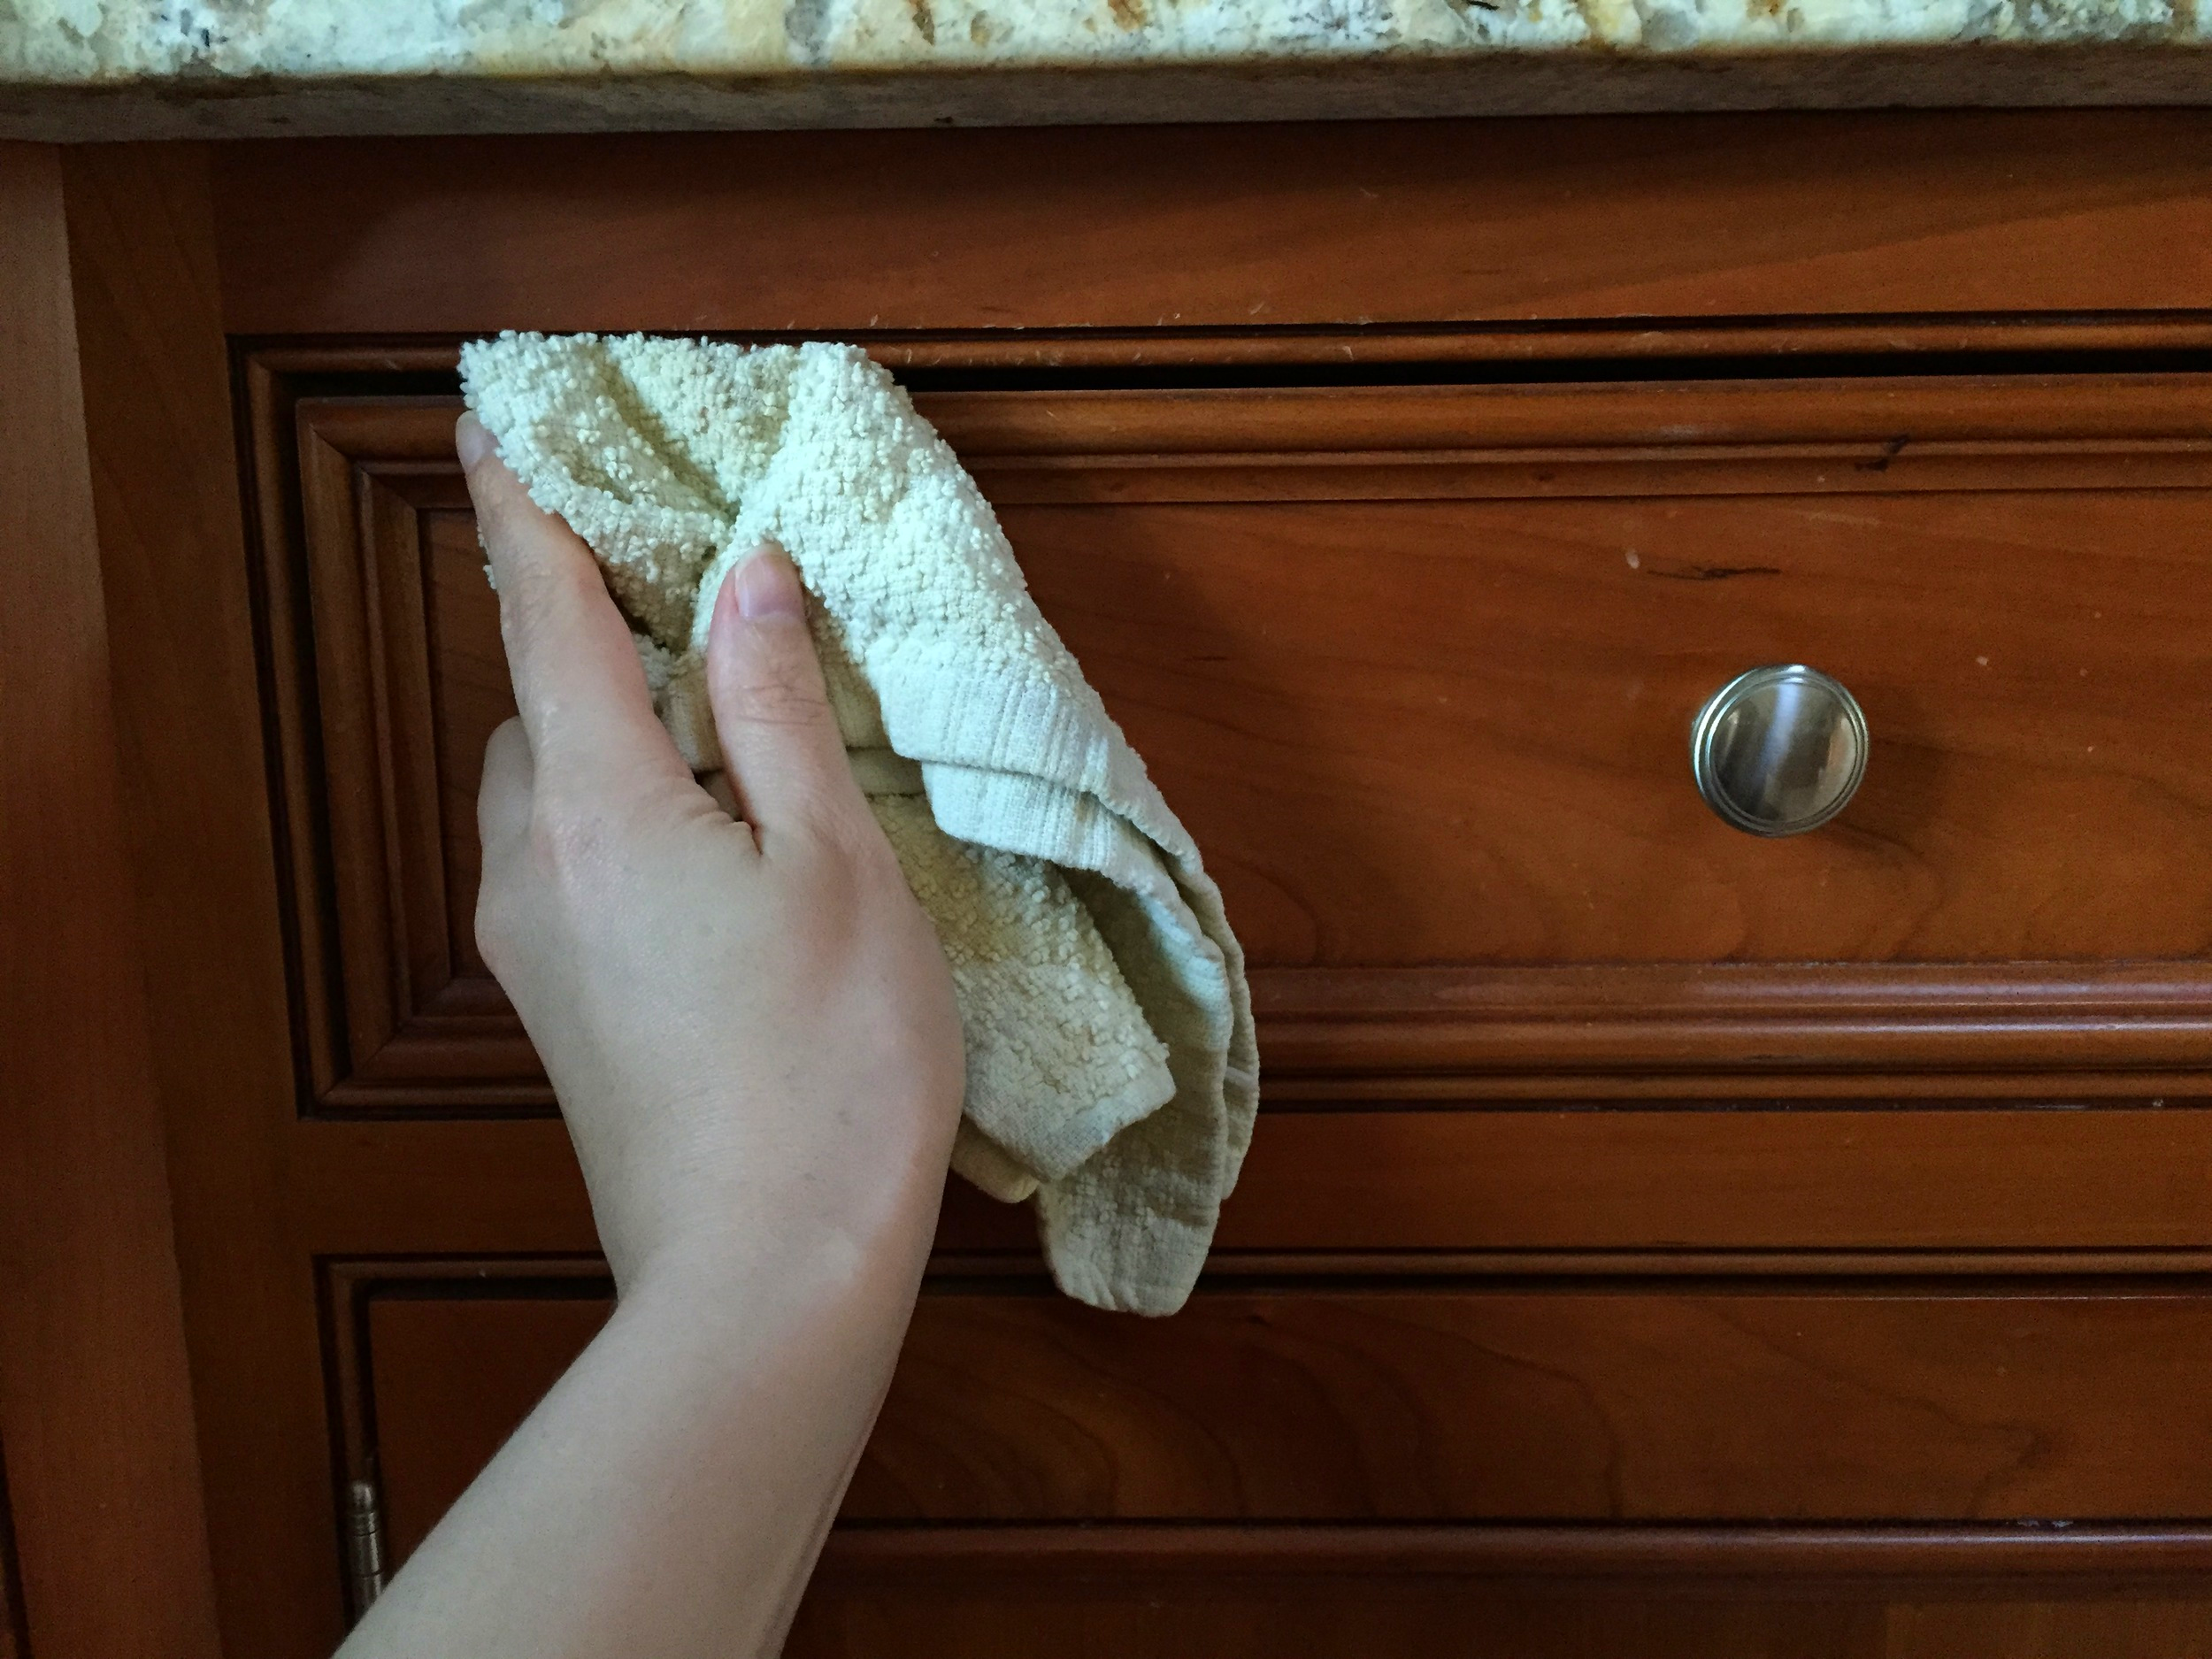
Comfort: Since you’ll be actually using your kitchen, you will want to choose handles that are comfortable for you and your family. This is a secondary feature, but might tip the scales after the above criteria.

Transitional White Kitchen - Custom Cabinets | Fairfield CT

Bottomline: While we generally advise our customers to gather pictures of the overall style they want to achieve, we are more than happy to lend our design expertise to your decision-making process.

Why Conversion Varnish is the Best Finish for Kitchen Cabinets

White Kitchen Cabinet - Conversion Varnish Finish | Ackley Cabinet Ridgefield CT

When researching your options for your kitchen cabinet remodeling project, you should always look for a conversion varnish finish (also know as catalyzed varnish). Here is why we agree it’s the best choice out there:

  • Conversion varnish is transparent and the most durable finish available for wood

  • It is chemical and moisture resistant, protecting your wood from the damaging effects of household chemicals/cleaners

  • The application and baking process hardens the finish, ensuring painted cabinetry retains paint color and sheen

  • Conversion varnish is more expensive than traditional lacquer, but has more elasticity (this can help to remedy joint expansion/contraction in cabinet doors)

All of the door styles that we carry are finished with oven-cured (baked-on) conversion varnish. Always inquire about the type of finish used on all kitchen cabinet components. This can save you time and money in the long-run, while ensuring your kitchen cabinets maintain their natural beauty.

Schedule your complimentary design consultation to see how we can guide you through the remodeling process to achieve your dream kitchen!

Under Cabinet Lighting – The Good, the Bad and the Luminescent

Under Cabinet Lights - Ackley Cabinet LLC | Ridgefield CT

When remodeling your kitchen, lighting and electrical should be something to consider early on in the process. We advise our customers to contact a qualified electrician who can provide tips on optimizing the lighting in a kitchen space.

Under cabinet lighting can be a great option when recessed ceiling lights are not installed directly above the counter-top or where overhead lighting is limited. Below are some helpful tips in choosing and arranging under cabinet lighting in conjunction with your kitchen renovation project:

  • Selection: We recommend Xenon strip lights (as shown above), which can maximize energy-efficiency and luminosity, in a space saving package.
  • Timing: If you are arranging for your existing cabinets to be remodeled, the under cabinet lighting should be installed before cabinet work begins. Be sure to advise your electrical and cabinet professionals of all intended work, so they can coordinate and finalize all necessary details for your project.

  • Location: The best placement of under cabinet lights is toward the front of the cabinet, which will not only properly illuminate the work space, but also minimize glare off the backsplash.

If your lights are already located toward the back and you only want to change the fixture, there is no problem leaving their placement as is (as shown above).

  • Installation: Be sure to ask your electrician to leave about an extra foot of wiring to allow the position of the lights to be arranged flush with the cabinet underside. This amount can also lend greater flexibility with placement and positioning of the light.

For our customer’s situation in the picture above, we also installed a light rail to achieve a distinguished look to the cabinetry. The use of a light rail with already flush lights is optional with respect to under cabinet lighting; more a choice of style than necessity to hide the light.

Thanks for reading!

Sticky Fingers – How to Keep Your Cabinets Looking New!

We have received many requests over the years from our customers asking how they can keep their cabinets looking brand-spanking new. Now that we are well into the holiday season, here are some tips on keeping your new cabinets in tip top shape:

Simple Green Cleaner

Simple Green: When our customers ask what is the best product for cleaning the cabinet frames, doors and drawers… two words “Simple Green”! We love this stuff, not only does it cut through grease and oil, but also it’s environmentally friendlier than most cleaning products out there (which is important around little ones). Plus, a single new bottle can be stretched by diluting it 10:1 water to Simple Green. Now, go get your green on!

Using the Hardware: You spent all that time picking out the perfect hardware for your cabinets, now we implore you to use them. We can’t count how many times we have caught people using sticky fingers (and even dripping cooking utensils…ick?) to close doors and drawers. We know the knobs/pulls are all shiny/new and you may not want to damage them, but that’s what they are there for…to be used! Repeated wear directly around the handles will lead to shiny spots, dings/dents and even create a depression in a single spot. Resist the temptation.

Cleaning Kitchen Cabinet

Spatters & Drips: We know cooking can be chaotic. We always remind our customers to try and clean up liquid spills sooner than later (especially once they start dripping down the drawer fronts). No crying over spilled milk, unless you let it sit…

Bottomline: All our cabinet pieces are treated with a baked on conversion varnish and are formulated to withstand everyday wear and tear. However, constant abuse will lead to accelerated signs of deterioration. We want you to enjoy your investment and following the above tips this holiday season will keep them looking like new.

Making your Kitchen, "Your Kitchen"!

Once you have chosen the options we previously discussed, the next step would be to add style enhancing details. The popular detailed embellishments that do this are…

  • Legs (also called ‘Turnings’)
  • Furniture feet

  • Fluted (i.e. ‘grooved’) Fillers & Corner Columns

  • Wainscoting or Beadboard

  • Corbels and Onlays

Legs and furniture feet are the most obvious options for making your cabinets look like a hand-crafted piece of art. Fluted fillers and corner columns (mitered fluted fillers applied to cabinet end corners) lend themselves to an elegantly sophisticated style. Wainscoting (false door ends) compliment these well, whereas beadboard is better for a quaint-cottage style kitchen. Corbels are sometimes necessary due to counter top overhang, but can be used under wall cabinets to give a supporting, vintage effect. And finally, onlays are best used in highly visible areas without other attention-grabbing details – best applied in french provincial kitchens.

This list can go on, and we are able to design many other options into your kitchen. Look at pictures of kitchens that you like and pick out what embellishment options are shown, as well as how many are used in the room. Then, envision your cabinets with these pieces installed along with your previously selected options – isn’t it beautiful? We thrive on transforming your existing cabinets to look and feel like new custom cabinets – down the the last detail!

Finishing off the Edges

So, you have your cabinet finish, door style and hinging style chosen. But, we’re not done yet! To fill in the edges of the room we select from various types of moulding.

The first choice is at the ceiling, referred to as crown moulding. We have various options – wide Crown Moulding, Designer Crown with dentil, rope or egg & dart detail, and our popular Beaded-Cove Moulding.

At the floor is baseboard, which we run along base ends, as well as the back of any island or peninsula in the kitchen. This gives the cabinets a more substantial appearance, much like high quality furniture.

Finally, detail mouldings like plinth, chair rail and edge treatments can be used to dress-up the cabinets. Plinth is an excellent option when coupled with inset hinging, as many of our previous clients comment that it “finishes off” the bottom of the cabinets.

The moulding used in the kitchen can step up the cabinet design significantly. Choosing which type, how much and where you want moulding is decided on a kitchen-to-kitchen basis, and will have a substantial impact on the final style of the room.